Introducing Xurrent Self Service v2
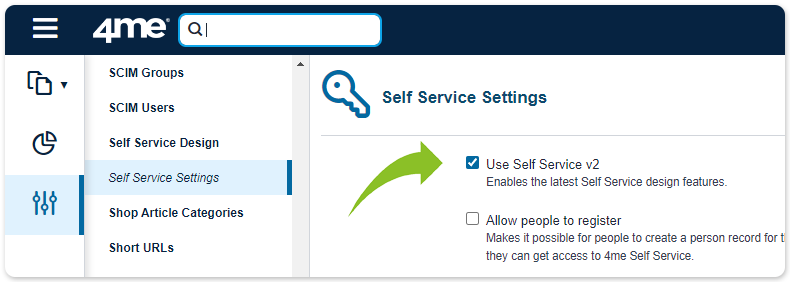
A brand new version of Xurrent® Self Service is now ready to be tested in your QA environment and the demo environment. It gives organizations more flexibility and control over their self-service pages, while at the same time ensuring that updates from the Xurrent Development team do not interfere with the existing styling of the organization’s portal. And it comes with eight(!) beautiful new self-service designs that can be instantly applied to your own portal to boot. To activate these new design features, just enable the new Use Self service v2 option in the ‘Self Service Settings’ section of the settings console.
Looking at the ‘Self Service Design’ section of the settings console, several changes to the previous version are immediately noticeable.

First, two buttons have been added at the top right of the page. When the gray button to the right is pressed, the currently enabled self-service design is displayed to the right of the HTML window. From there, the account designer can select mobile, tablet, or desktop to immediately see what this design looks like on any of those types of screens.
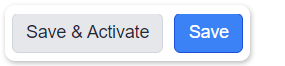
At the bottom of the page, two other buttons are now available: the Save and Activate and Save buttons. Saved changes made in the window on the left are immediately visible in the design on the right. Only after pressing Save and Activate is the design applied to your Xurrent Self Service portal.
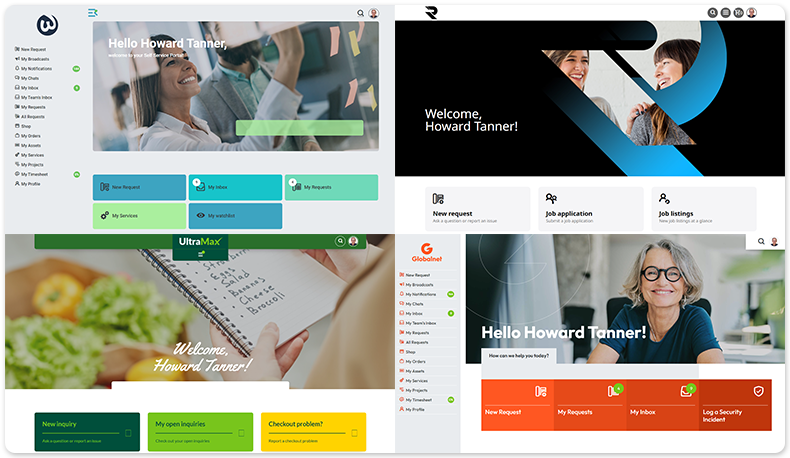
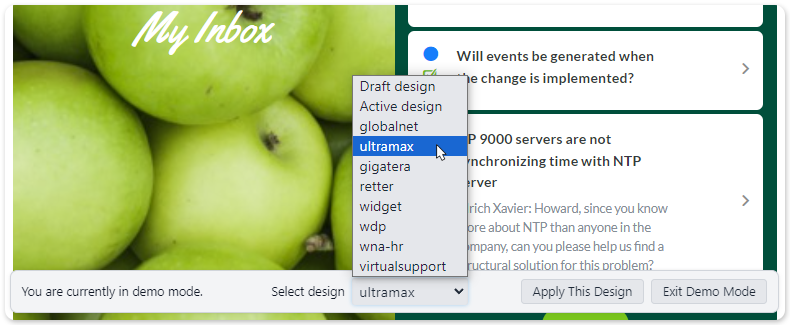
More magic happens after pressing the Browse Designs button. For eight accounts of the Xurrent demo environment (Widget, WDP, WNA-HR, Retter, VirtualSupport, GlobalNet, Ultra Max, and GigaTera), new designs have been made that can be applied to your own self-service portal with a click of a button. These designs can be selected at the bottom of the screen. To work on any of them, just select one and then press Apply This Design (or press Exit Demo Mode to be taken to your self-service portal with the current design without saving).
After the desired design has been selected, it can be adjusted to reflect the organization’s look and feel, logo, font, and background image. This is where the third big change compared to the previous self-service version is apparent: the new Self Service Design page now has separate tabs for HTML, CSS, Fonts, and Global Settings as opposed to CSS, Homepage HTML, Homepage CSS, and Global Navigation HTML.
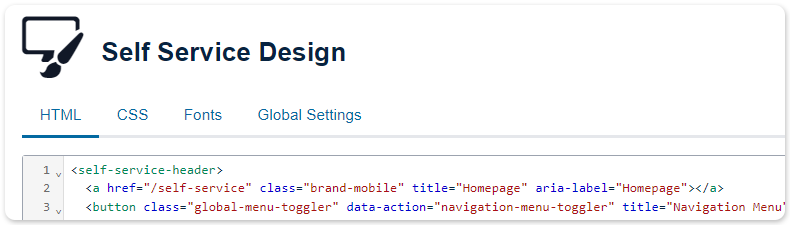
CSS, Fonts, and Global Settings (which at the moment only includes the background image to be selected) are completely under control of your organization. The same is true for the HTML, but only for the homepage; for the sub pages the options are limited. Let’s dive a bit deeper into the HTML section of this page.
The HTML section of the self-service design can consist of four parts:
- Header
- Navigation
- Homepage
- Footer
The header is always at the top of the page, the footer at the bottom, and the navigation is either left (as with the Widget design) or included in the header (as with the Retter design). These elements are fully controllable and visible on all pages of the portal. The homepage section is, of course, also fully controllable for the homepage. On the sub pages, that section is replaced by the respective Xurrent-controlled page and cannot be adapted for now. At a later stage, customization options such as a color scheme for the sub pages may become available in the Global Settings tab.